Download Decking Tips
Get The Latest Decking Tips Here
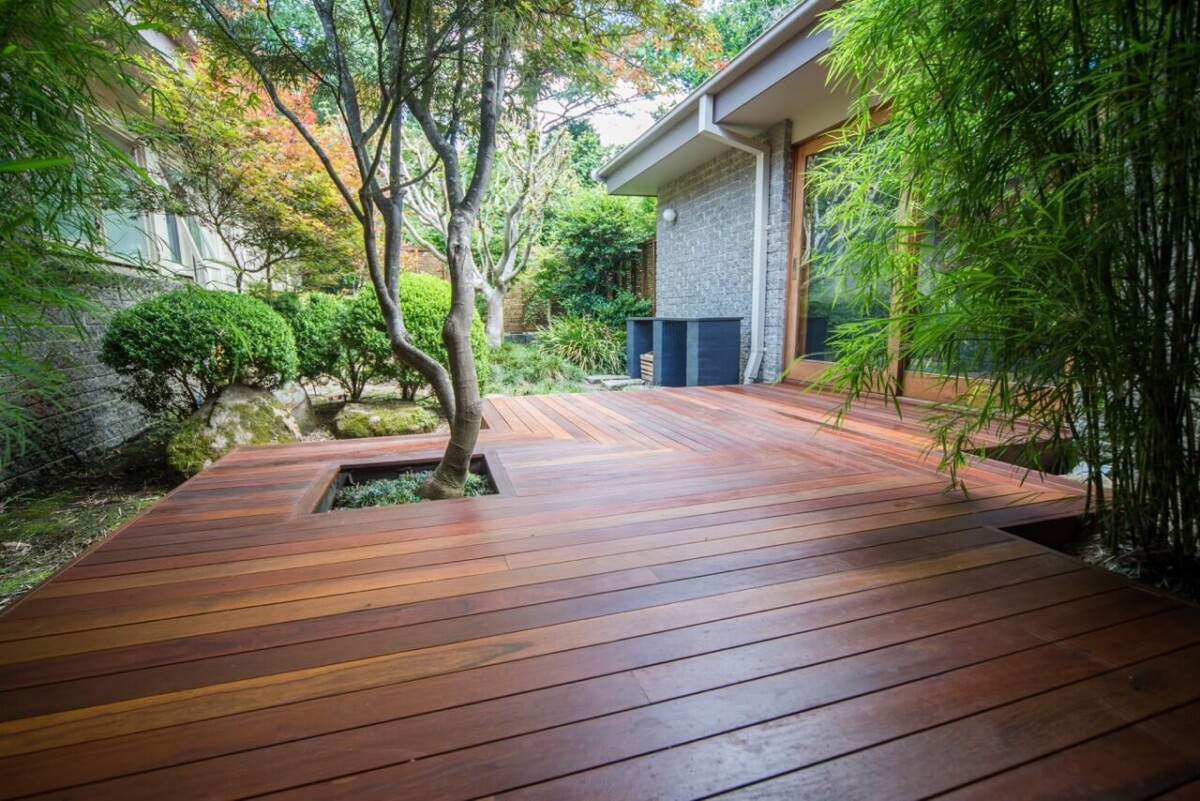
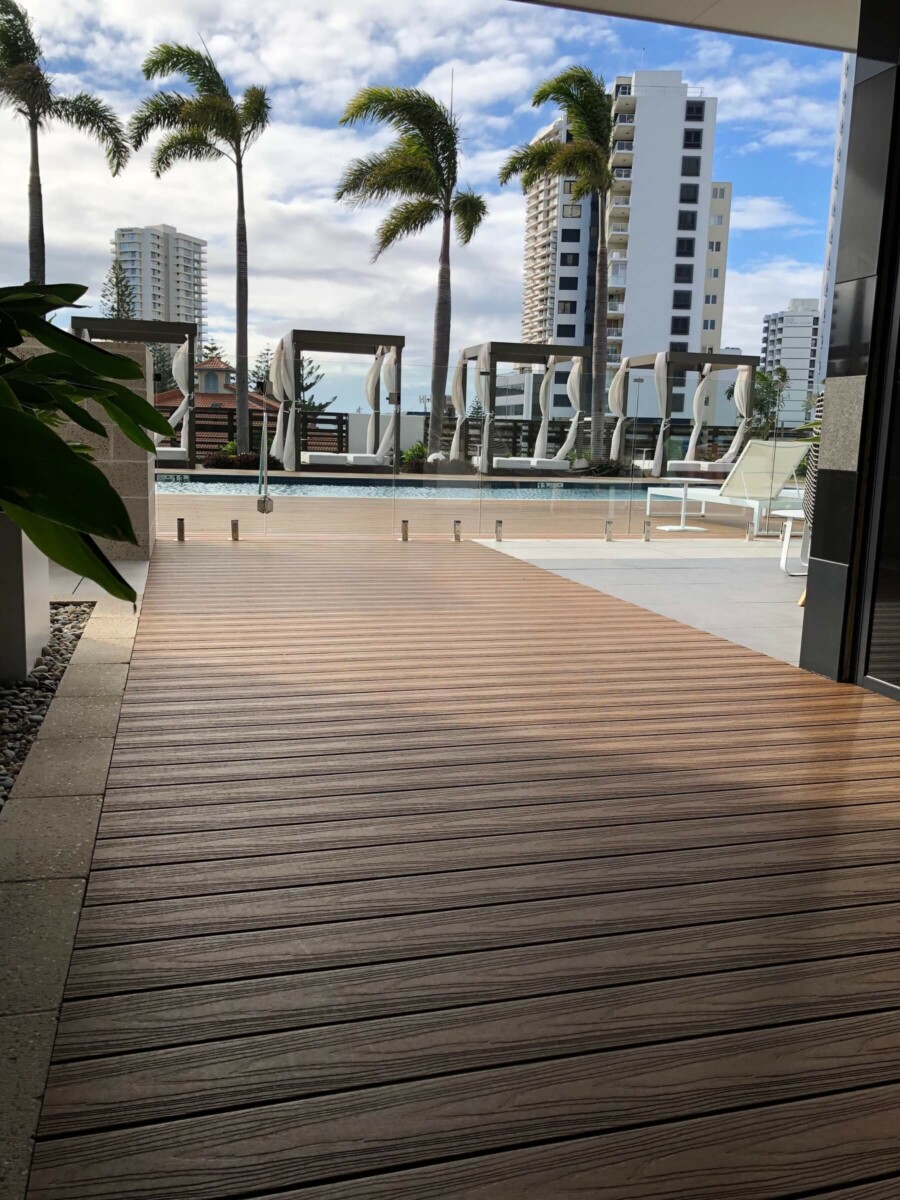
There’s nothing more exciting than building a deck you’ve been dreaming of for years. It’s not a chance that many homeowners get. However, building your own deck is not something you should take for granted.
If you don’t want your deck to collapse, then you need to read this.
In our free “Deck-Max Deck Tips” guide, we’ll share with you everything you need to know to design, build, and complete your deck from the ground up. We also include some design ideas to help you get started on this venture.
In this guide we cover:
- How to choose a builder
- Step-by-step process of building a deck
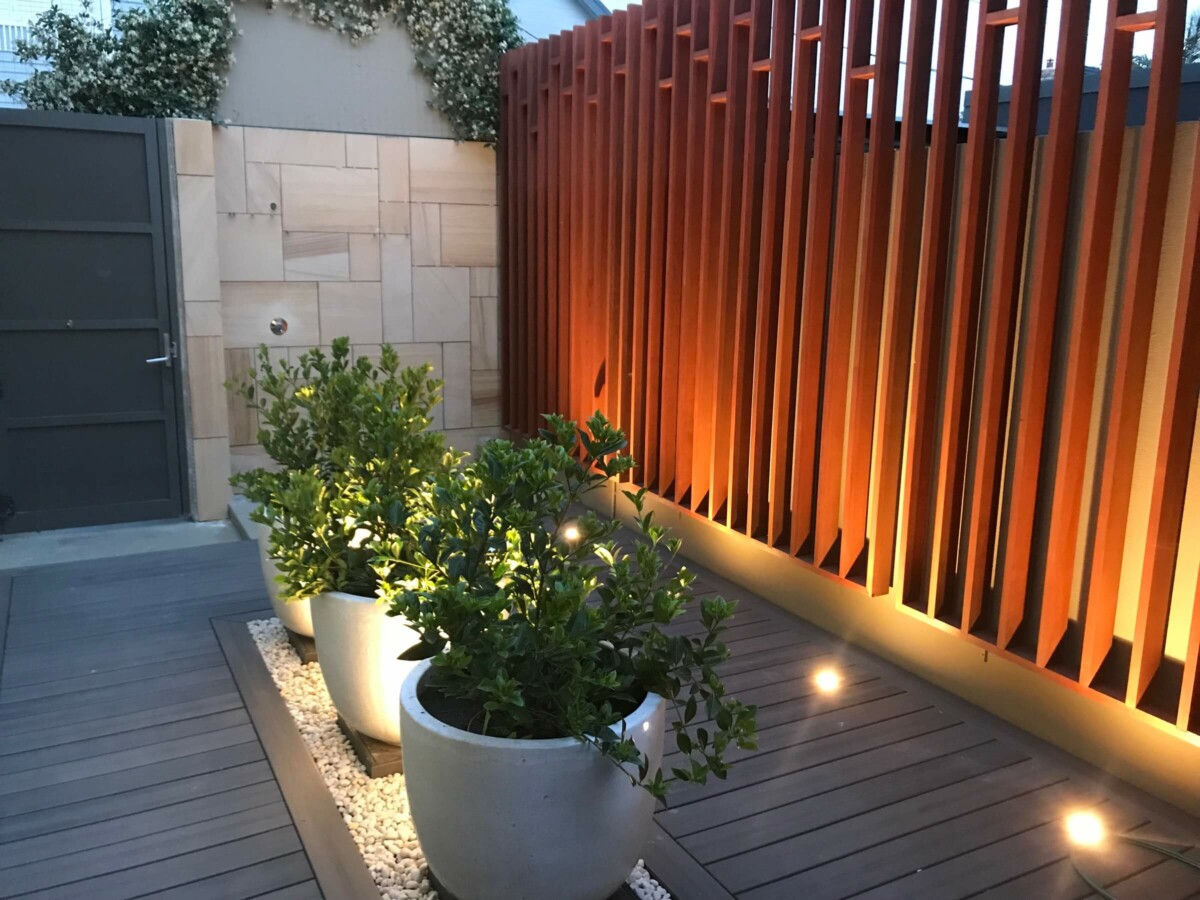
- Several sustainable design ideas
- Tips on creating a flexible living space
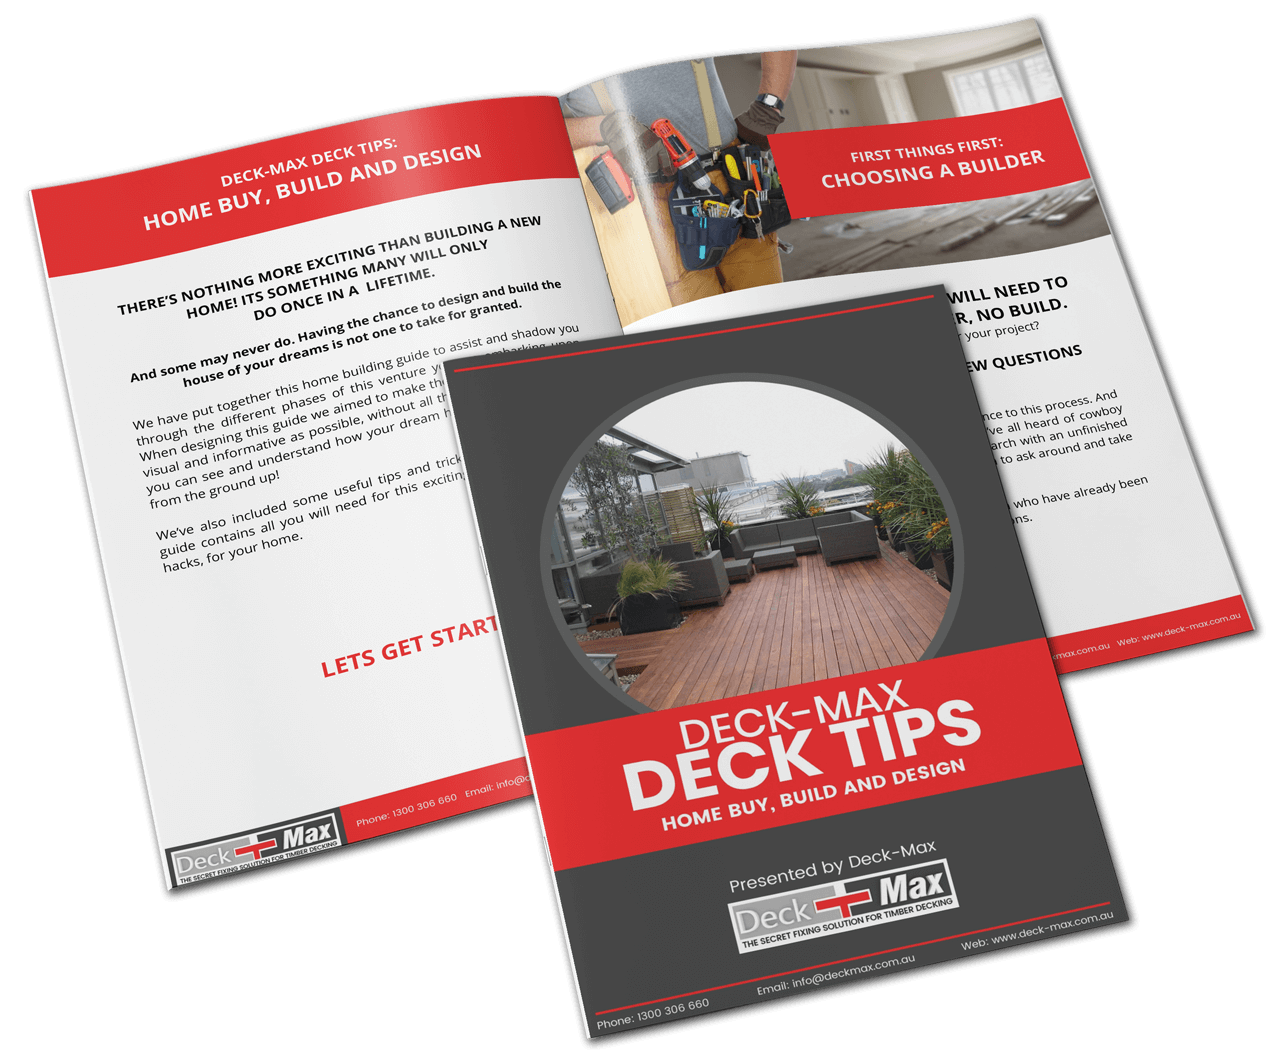
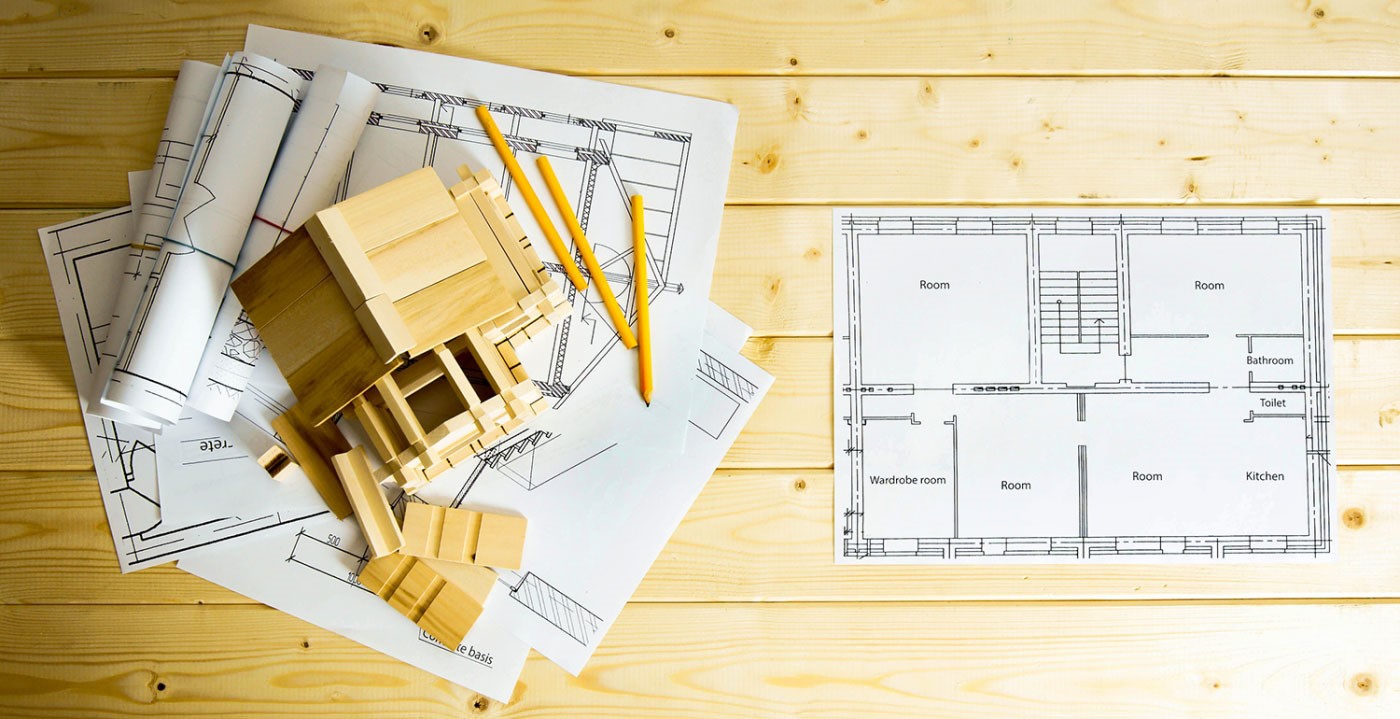
There’s nothing more exciting than building a new home! Its something many will only do once in a lifetime.
We have put together this home building guide to assist and shadow you through the different phases of this venture you are embarking upon. When designing this guide we aimed to make the step-by-step process as visual and informative as possible, without all the complicated jargon, so you can see and understand how your dream house will come together; from the ground up!
We’ve also included some useful tips and tricks and design ideas. This guide contains all you will need for this exciting adventure. Think of life hacks, for your home.
Few Insights

Choosing a Builder
Before doing anything, you will need to
choose a builder. No builder, No build.
REPUTATION
QUALITY OF WORK
VIBES
To learn more, download decking tips guide.
Step-By-Step Process
Our step-by-step process below will explain the building of your home, and what exactly the builder will be doing at each stage of the plan.
CHOOSING A PLAN
FOUNDATION
FRAMING
INSPECTIONS
AND MORE...
To learn more, download decking tips guide.

Interior Design
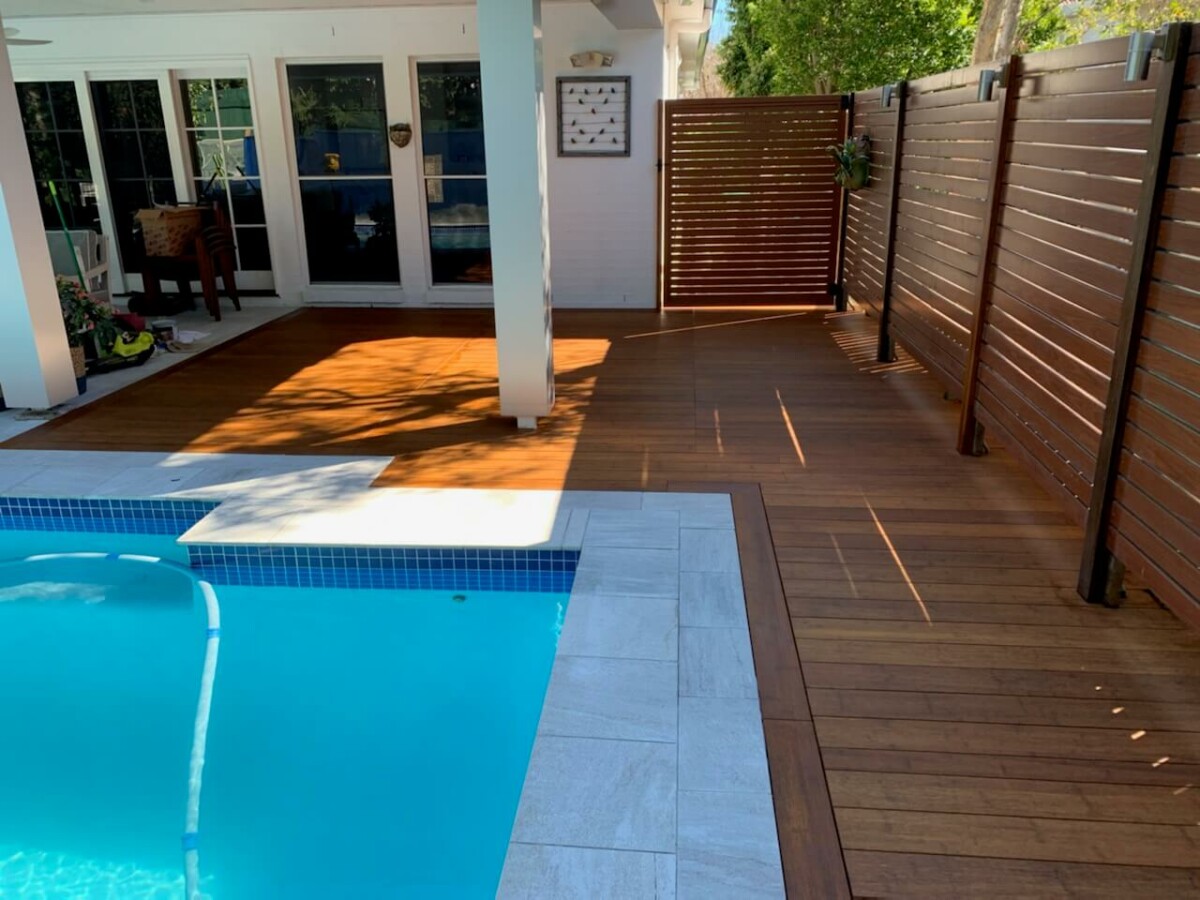
As with exterior design, there are a number of interior design options.
And, in order to keep the flow throughout your home, its best to try and stick to one specific style. But what styles are there?
Modern
Contemporary
Minimalist
And More...
To learn more, download decking tips guide.
Flexible Living Space
This brings us onto flexible living space. You’ve gone through finding builder, the step-by-step process of building your home and the exterior and interior design. But how do you make your house truly work for you?
What’s on trend in the home design world?
To learn more, download decking tips guide.

Download Deck-Max Deck Tips
There is many time saving moving tricks, design & decor tips.
Contact our
Decking Specialists Today!
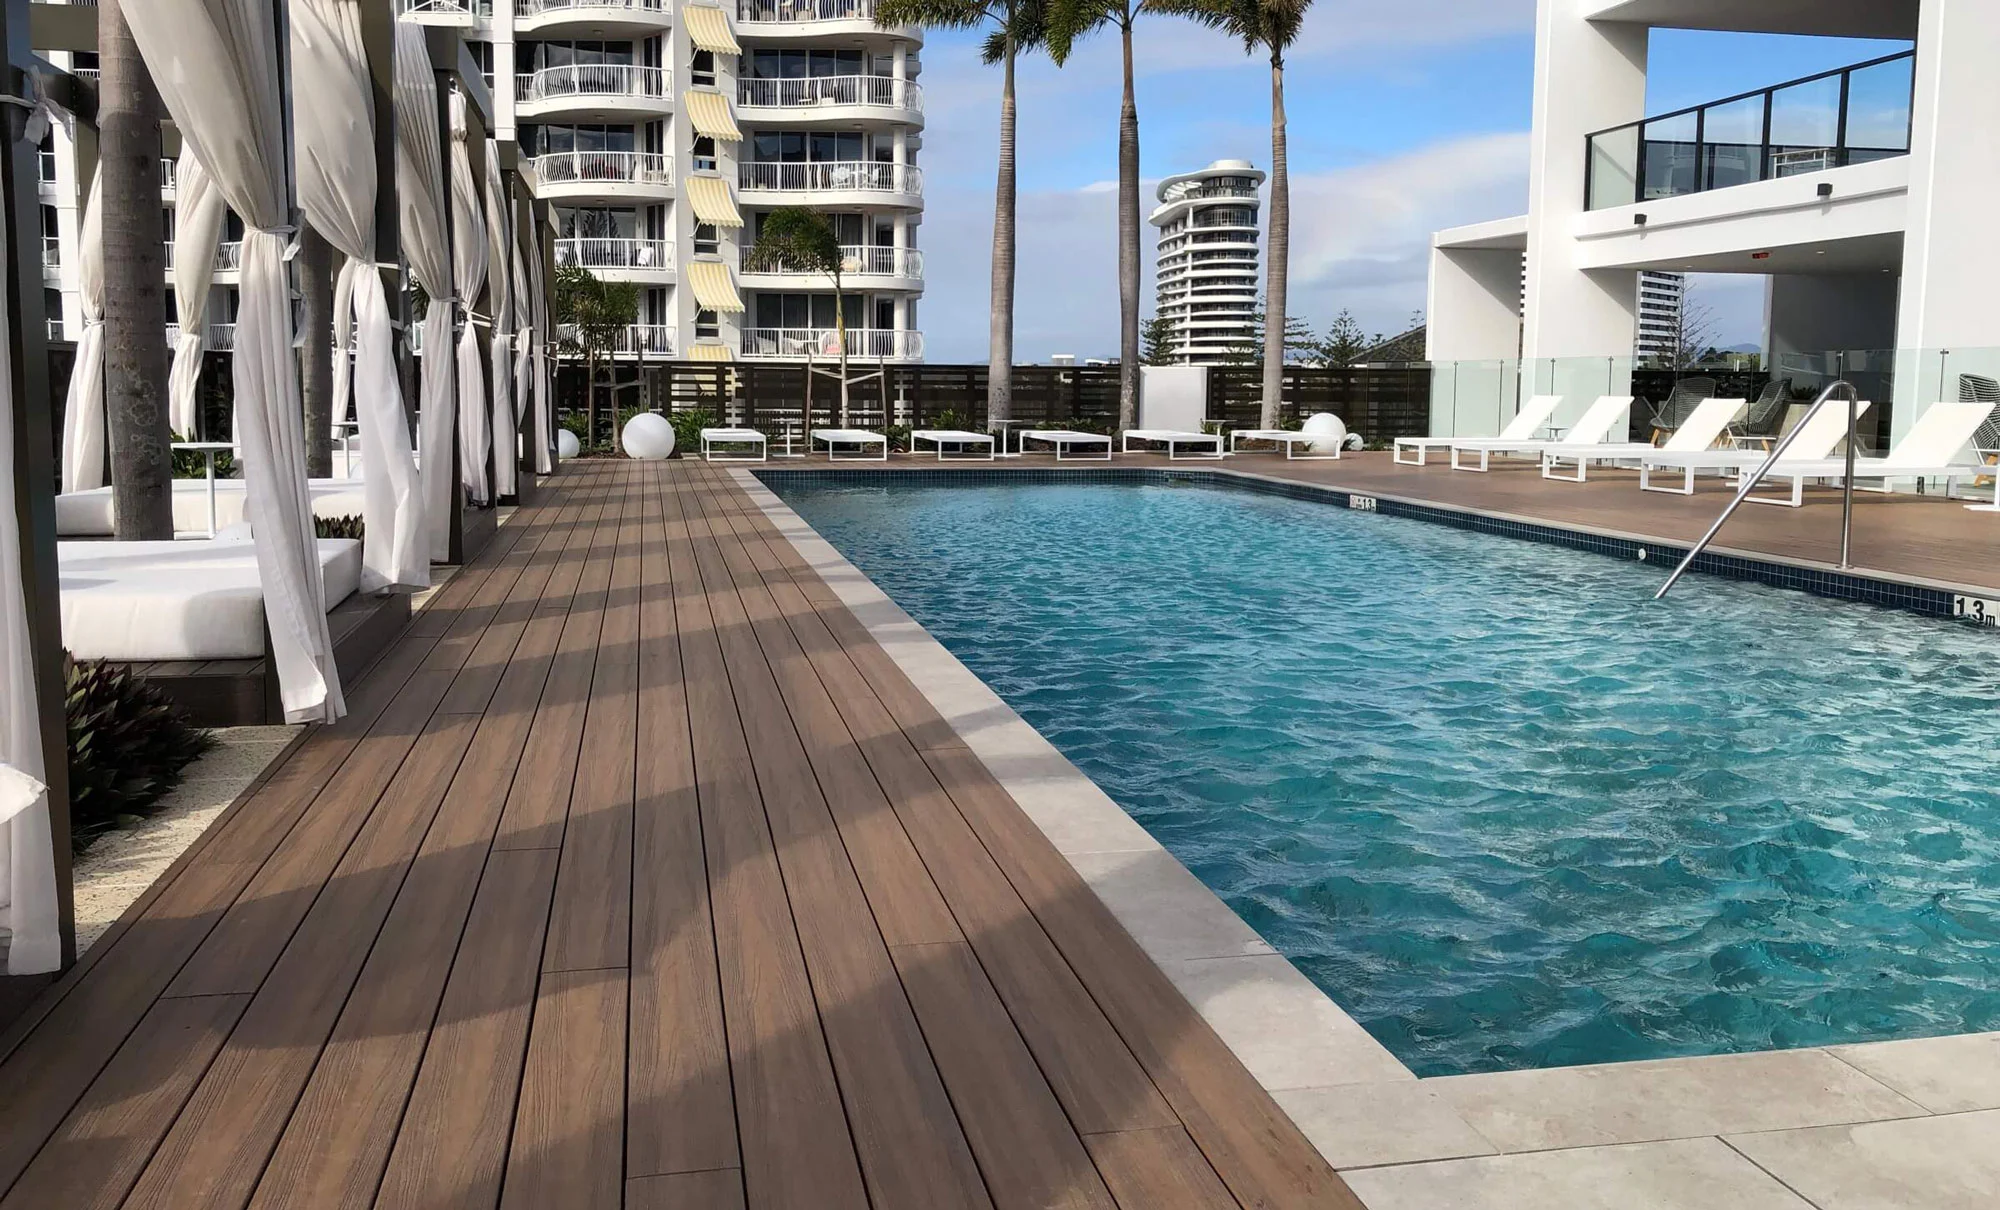
Stunning Decks With Deck-Max Products